How to Teach Yourself to Ski

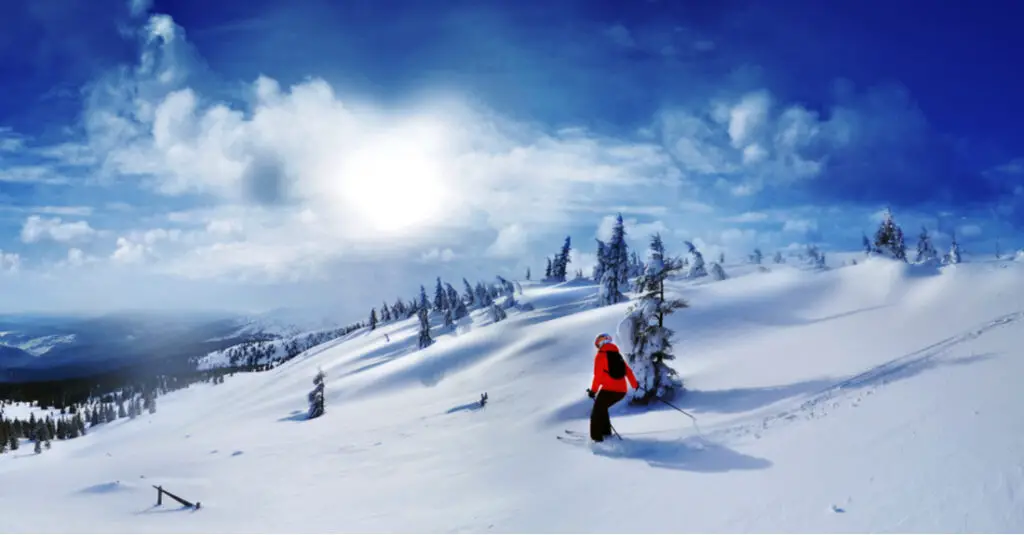
Learning a new skill requires dedication, perseverance and time. Skiing is no different. While we strongly recommend investing in a lesson for your first time on the slopes, you can technically teach yourself to ski. Below are the seven lessons I shared with students during my time as a ski instructor at Deer Valley. Just remember to be patient with yourself, and don’t give up.
Get the Feel of Your Skis
Find a relatively flat area at the base of the mountain to put your skis on. Ideally an area without too much foot traffic. Without using poles, practice picking up one ski and then the other. Staying in the same spot, try marching in a circle in one direction and then switch to the other direction. Crossing the tips or backs of your skis is the most likely way you will end up on the ground. Practicing this circle movement will help you understand the orientation of the skis.
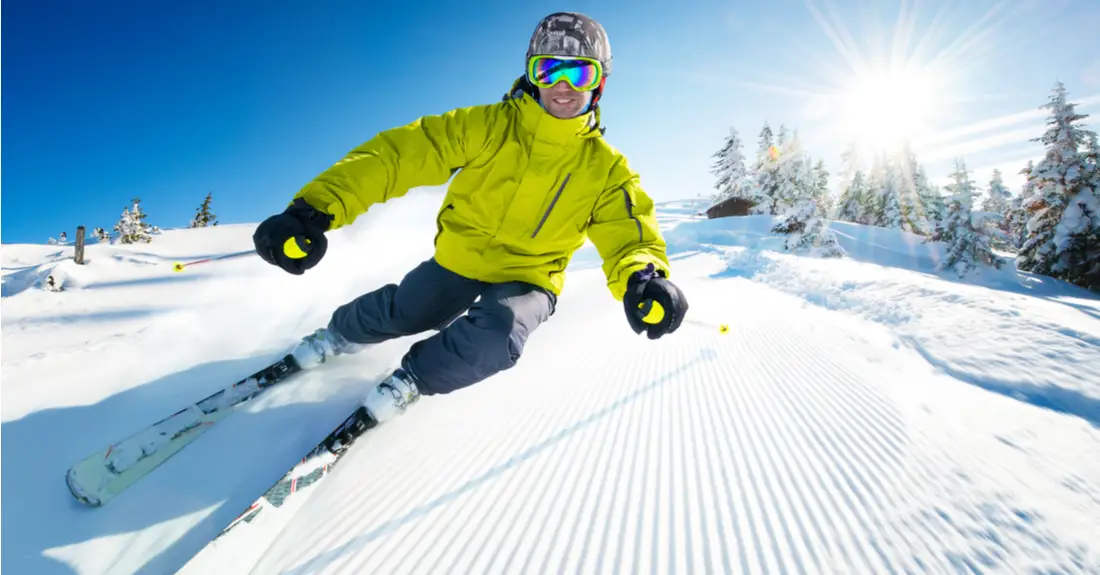
Get a Feel For The Edges
Next, try stepping sideways with your skis on. Go about 10 paces in one direction, then reverse to get back to where you started. This is helping you to understand the movement of the skis and how to keep them apart. As you walk side to side you’ll naturally flex your ankles a little, which will introduce you to getting your skis on their edges.
Walk Like a Duck
Staying on a relatively flat area, point your toes out, forcing your ski tips apart into a V shape. The backs of your skis will come together, but don’t let them cross over. Walk forward, maintaining this V shape. To create motion, you’ll need to apply a slight pressure to the inside edge of your skis. If the terrain has a small incline, try marching uphill. You’ll notice you keep the same relative shape, but you have to apply a lot more edge pressure to create momentum and keep yourself from sliding back down.
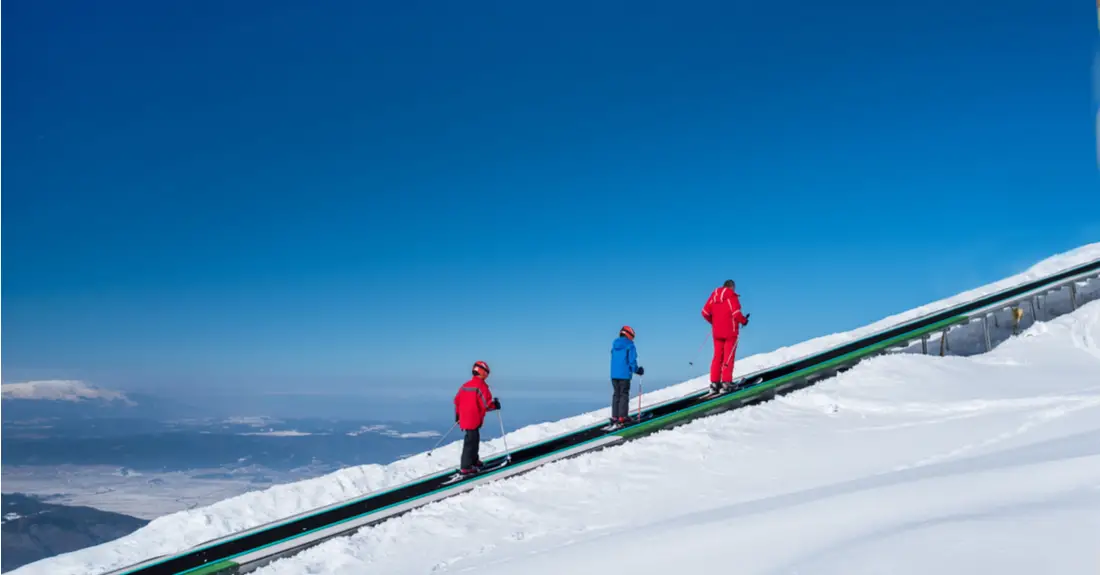
Observe the Magic Carpet or Bunny Hill Lift
Before taking your turn on the magic carpet or ski lift, watch what others do as they get on and off. This will help you visualize what you need to do If they fell, try to understand what caused them to fall.
When loading a lift, look over your shoulder at the outside edge of the lift and start sitting slowly as the chair comes under you. When unloading, stand up with your weight slightly forward so that your body stays over your skis as you start to ski off the lift. Every lift, especially beginner lifts, will flatten out very quickly so you don’t have to try to slow yourself down when getting off.
Learn to Slow Down
If you point both skis straight down the slope you will start moving, but you haven’t learned how to stop yet. The first thing you want to practice is how to slow down. Form a pizza shape, with the tips of your skis together and heels flared out (be careful not to cross the tips of your skis). This will force your skis onto their inside edge, causing resistance on the snow that will slow you down. The wider you flare the backs – or tails – of your skis, the slower you’ll go. As you ski down, repeat that flare motion 10 to 15 times to get a feel for it, pulling the skis back towards parallel to keep moving. There’s no need to come to a complete stop. You just want to get the hang of controlling your speed so that you feel like you are in control.
Learn to Turn
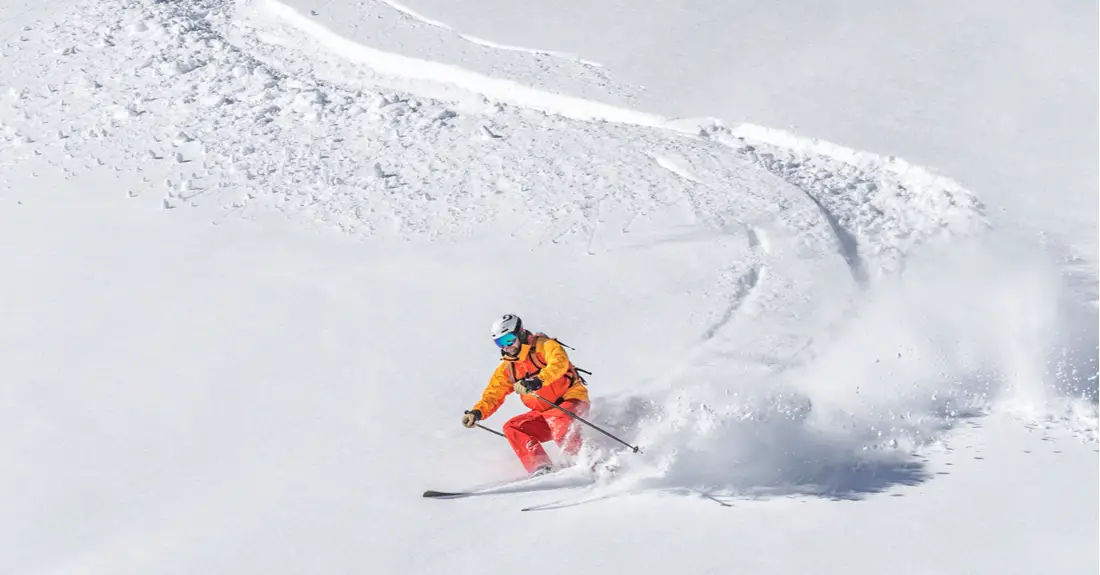
Once you feel comfortable with controlling your speed, start traveling down the slope in a wide S pattern. Skiing is ultimately all about linking turns together as you travel down the mountain. With your skis positioned in that same pizza shape, start lifting your weight off of one ski and you’ll notice the other ski will want to start moving towards the unweighted ski. That initiates your turn.
Once you’re moving across the slope use the pizza to control your speed and then start to take the weight off your downhill ski. This will initiate your turn towards the opposite direction. Keep the weight mostly off what was your downhill ski until you have fully turned and are heading across the slope in the opposite direction. As you become more comfortable with this weighting and lightening process, you can start bringing your skis closer together, little by little, until they are tightly parallel to one another. .
An important note here: Speed can only be created by going down the hill. Even though you are on a slope, if you are facing perpendicular on the mountain, the terrain in front of you will be essentially flat which will keep you going slow. This is one reason turning is so important. No matter how steep the run is, if you turn successfully across any slope you can control your speed by traveling across the run. Also, if you rely too much on your pizza to just go straight down the mountain, rather than to check your speed every once in a while, you’ll never get any better as a skier. And don’t expect to enjoy the trees, powder skiing, or carving without learning to turn really well.
Begin to Challenge Yourself
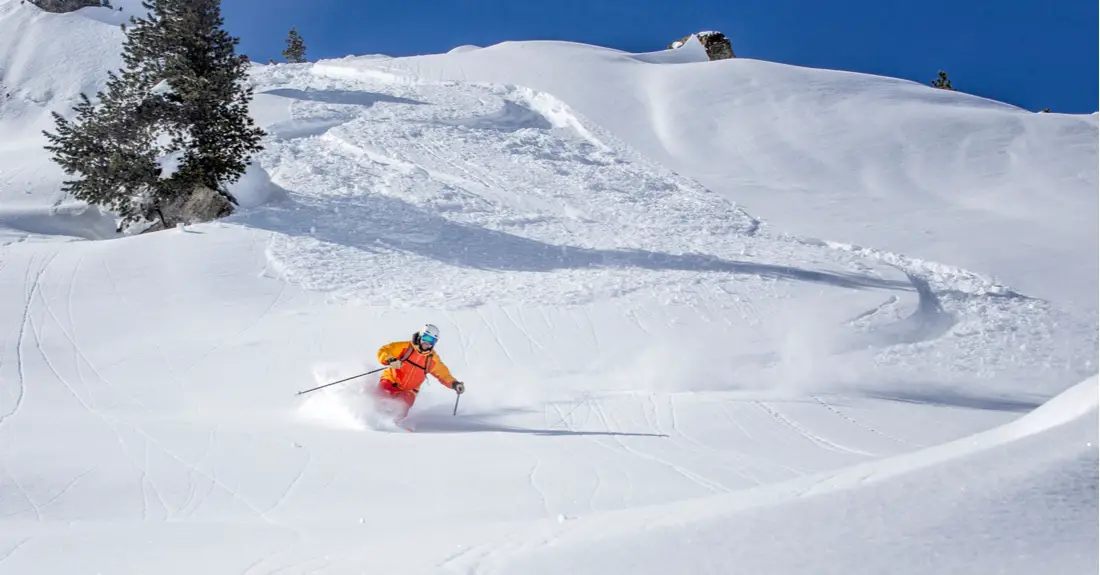
Once you’ve learned how to slow down and turn, you’re ready to start trying some longer and steeper runs. Don’t go crazy and head to a black diamond, but if you’re feeling confident, you can head to a longer green run. A friendly lift operator or resort staff member can recommend good green runs or easier blue runs, since not all runs are created equal just because of their ski slope rating. Try to find wider runs that give you more room to practice your turns and more room for others to safely pass you.
While on chair lifts, watch the skiers who are in control, making nice turns and skiing confidently, not the ones straight-lining from top to bottom as fast as they can (they aren’t usually skiing safely anyways). The more you see what practiced shredders are doing, the more you can visualize how you want to feel and perform on the snow.
